CGI Auto Rescheduler: How to Get Free Credits & Unlock Unlimited Credits
You’ve just installed the CGI Auto Rescheduler Chrome extension, opened the popup… and it says the extension is not set up, with 0 free credits. Don’t worry — that’s exactly what everyone sees on first install.
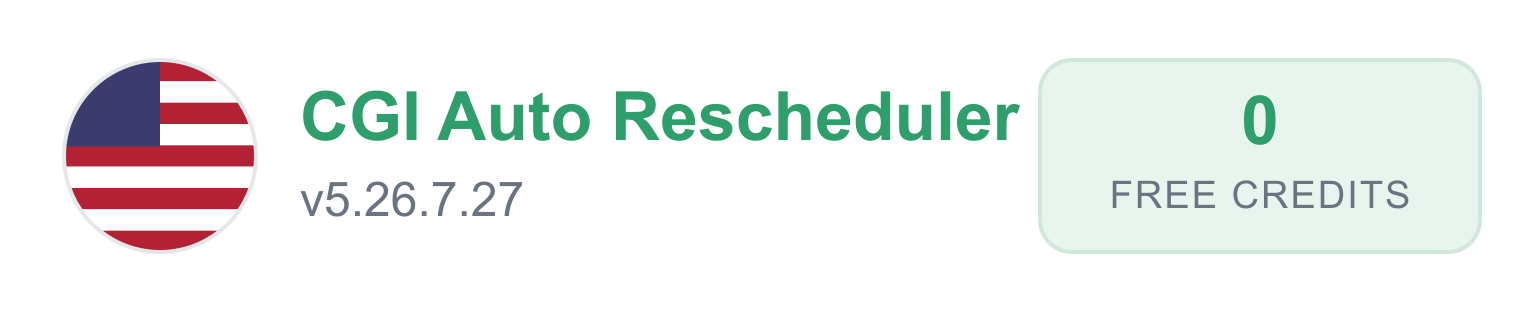 Fresh install: 0 free credits is normal — they haven’t loaded yet.
Key point: Free credits are not loaded at install time. They load automatically the first time the bot reaches the calendar page of your CGI portal account. Set the extension up, activate it, and let it get there on its own — the credits will appear.
This guide walks through the whole flow: setup → activation → free credits → upgrading to unlimited.
Before anything: pin the extension
Chrome hides new extensions behind the puzzle-piece icon, and you’ll be opening this popup a lot. Pin it once and save yourself the hunting:
- Click the puzzle icon 🧩 at the top-right of Chrome, next to the address bar.
- Find CGI Auto Rescheduler in the list.
- Click the pin icon 📌 next to it.
The extension icon now sits permanently in your toolbar — one click to open the popup anytime.
Step 1: Fill in your details and hit Save All
Open the extension popup and complete every field:
- Username (email) and password — the login credentials of your CGI portal account. These stay in your own browser; we never see them and we never change your password or email.
- 2Captcha key (optional) — if you want the bot to auto-solve the Cloudflare check, paste your 2Captcha API key here. Without it, you may occasionally need to pass the check manually.
- Start date and end date — very important. This is the window of dates you’re willing to accept. The bot will only grab an appointment that falls between these two dates, so think it through: make it too narrow and you’ll miss good slots; too wide and you might get booked into a date you can’t attend.
- Security questions and answers — enter them exactly as they’re set on your CGI account. The bot needs these to get through the login flow.
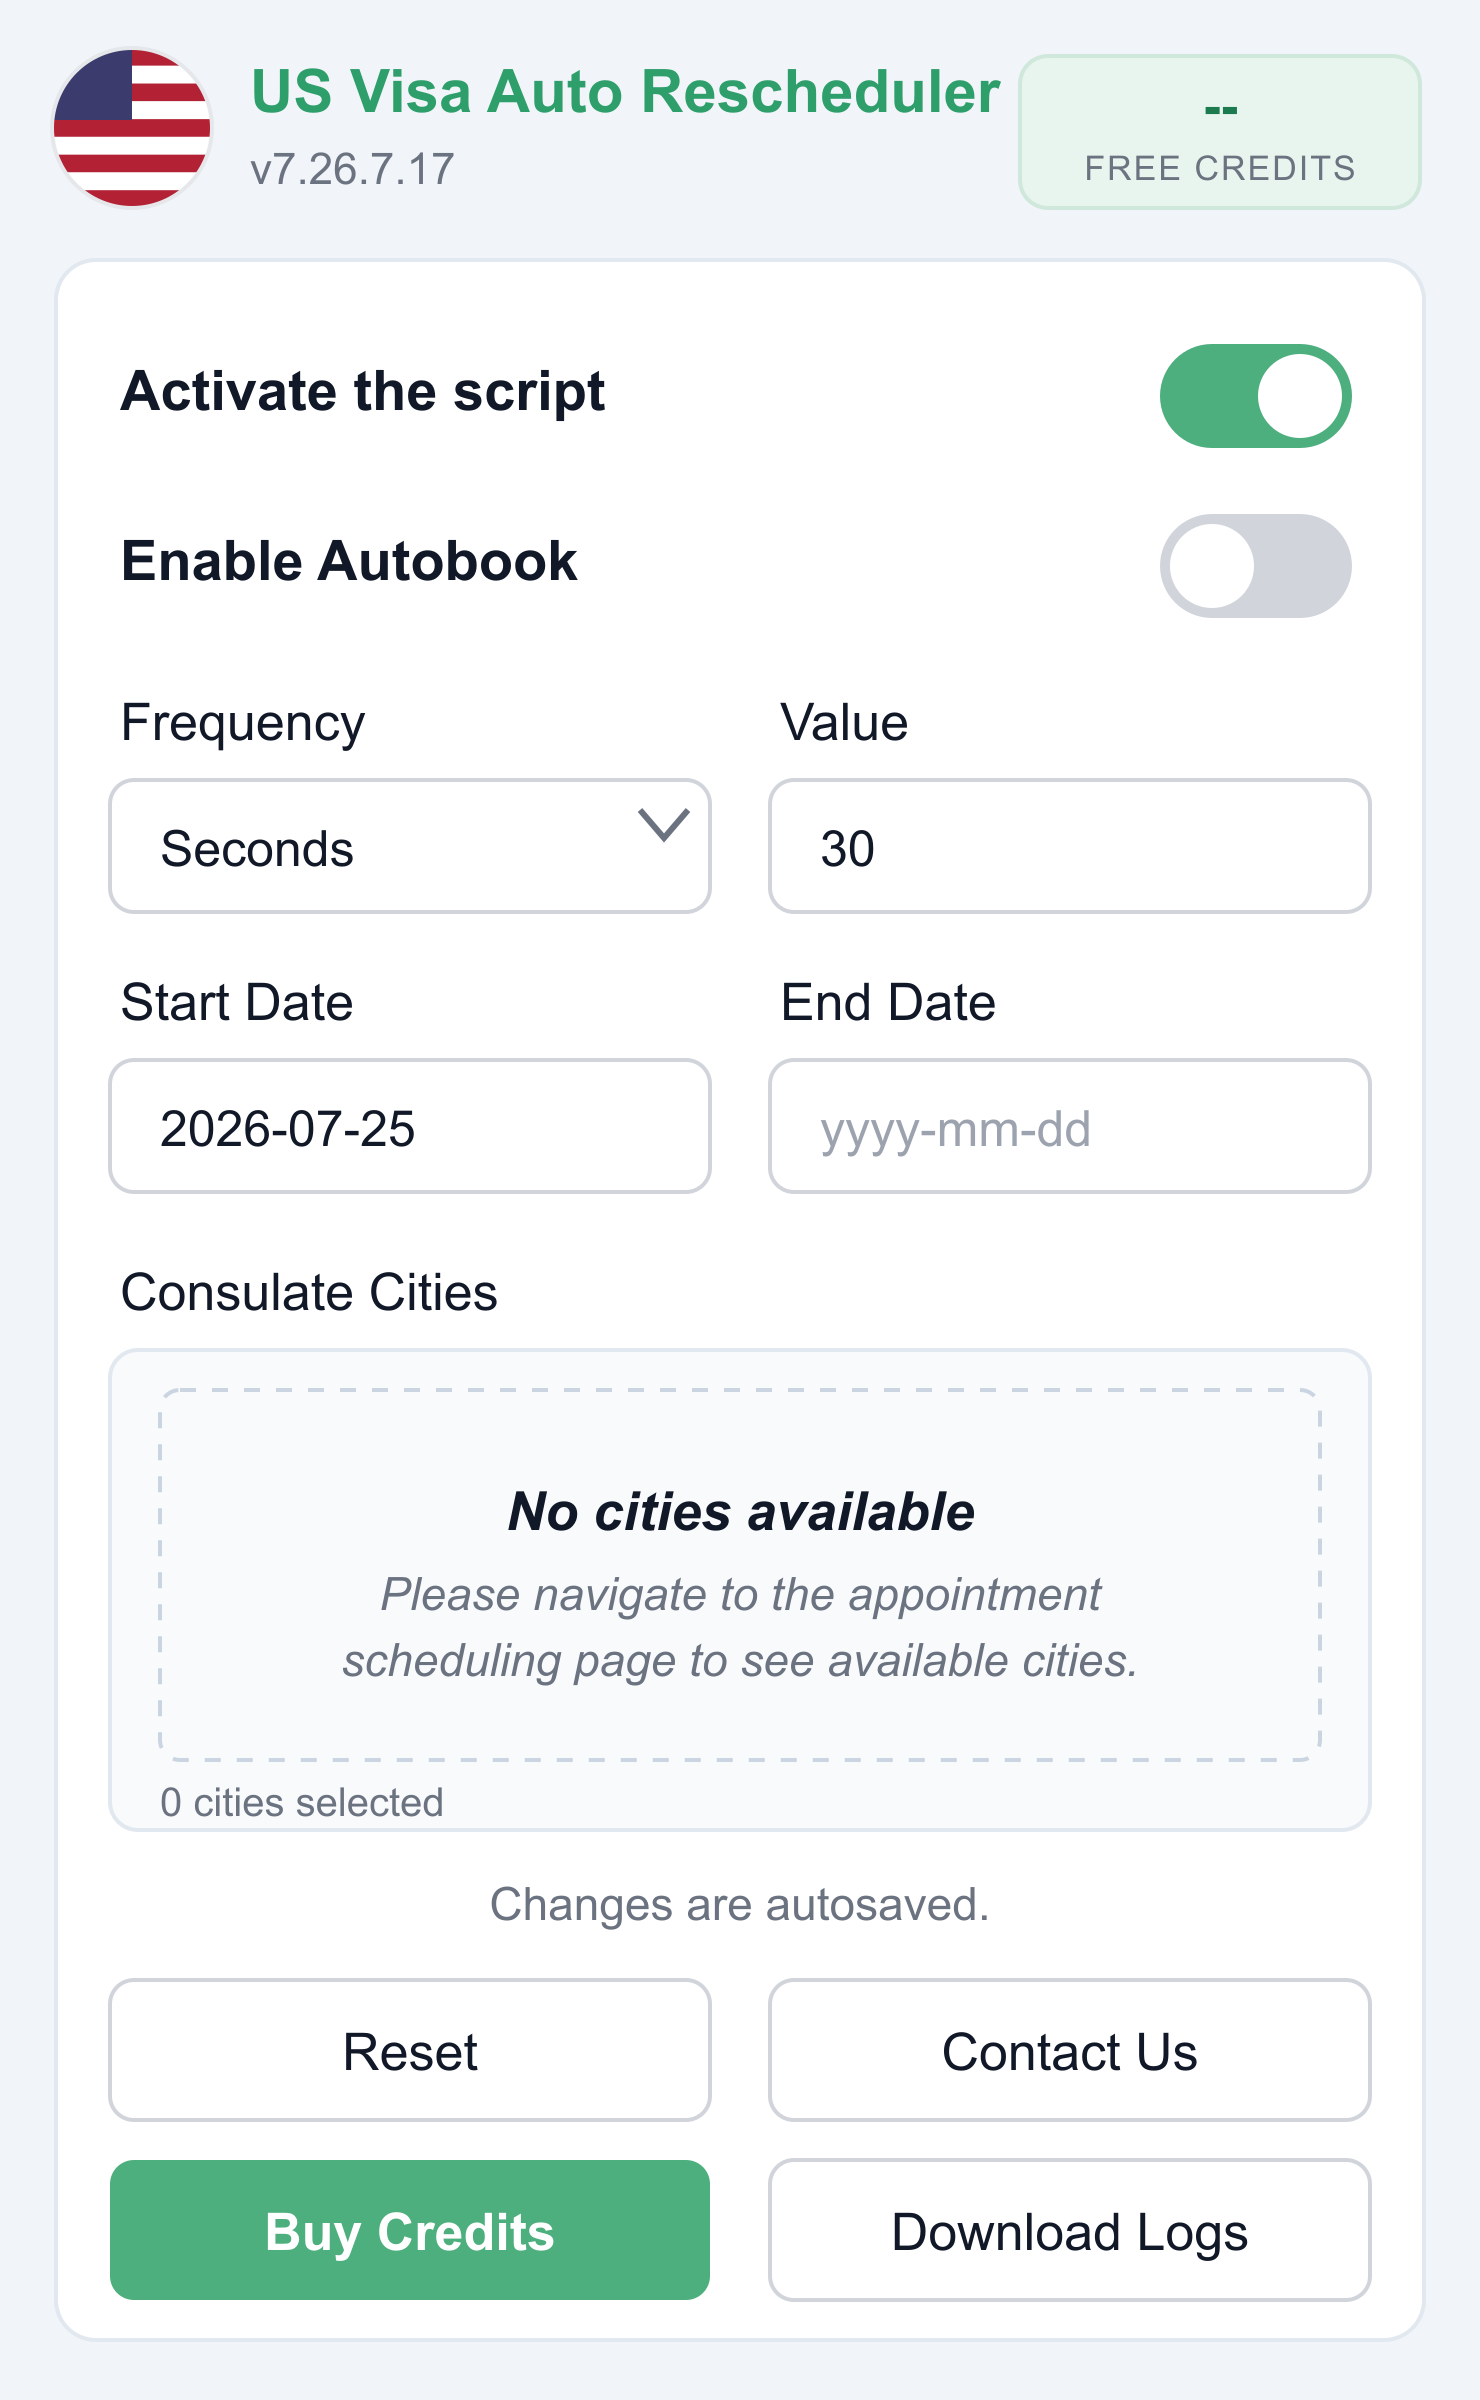 The date window in action (shown here in our sister AIS extension): the bot only grabs appointments between your start and end date.
When everything is filled in, scroll down and hit Save All at the bottom. If you skip this, none of your settings are stored.
 The action buttons at the bottom of the popup — always finish setup with Save All.
Step 2: Activate the bot
Flip the “Activate the script” toggle at the top of the popup.
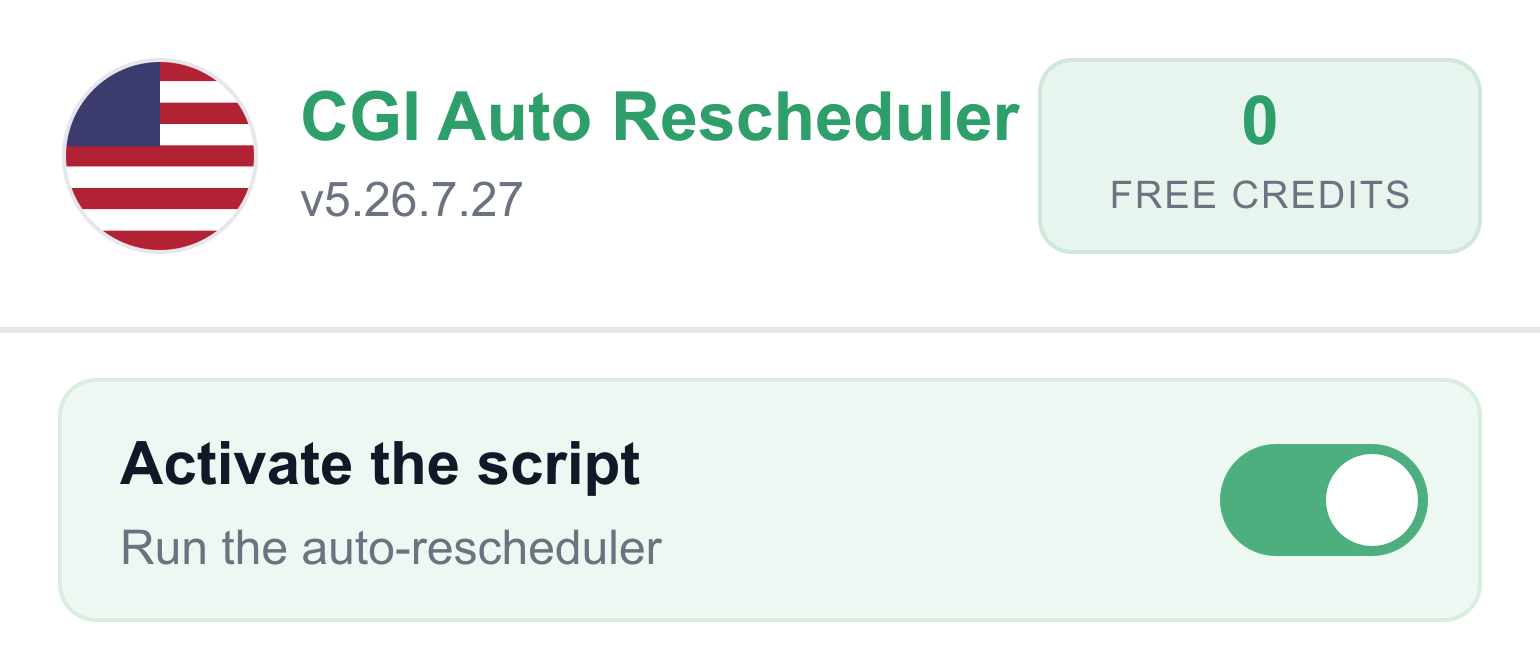 Toggle on “Activate the script” to start the auto-rescheduler.
If this is your first time running the bot, it will show a short set of instructions — read through them once. After that:
- If you’re sitting on the CGI portal login page, the bot takes over and logs in automatically.
- Once logged in, it starts fetching available dates on its own.
Applying from India? The bot will ask you to choose your Consular city and OFC city before it can start checking dates. Pick them once and it remembers.
Step 3: Let it reach the calendar page — this is where free credits load
This is the step people miss. Credits are only loaded on the calendar page. The extension must navigate there by itself with the bot active — simply installing it, or sitting on the login page, loads nothing.
So: activate the bot, leave the tab alone, and let it log in and walk to the calendar on its own. The first time it lands there, your free credits appear in the popup header.
Warning: If you have other visa bots or auto-refresh extensions installed, they can hijack the page and block the bot from reaching the calendar. Remove or disable every other bot before activating — they do more harm than good, and they’re the number one reason credits “don’t load.”
Once the free credits show up, the bot is fully working: it checks dates in your window and reschedules you automatically when one opens.
Step 4: Upgrade to unlimited credits
Happy with how the bot works? Click Buy Credits in the extension popup. It opens a Stripe payment page with two email fields — and this is the part to get right:
- First email field — the address where you want your payment receipt. Any email works here.
- Second email field — your CGI account’s email address. This is the account that gets the unlimited credits.
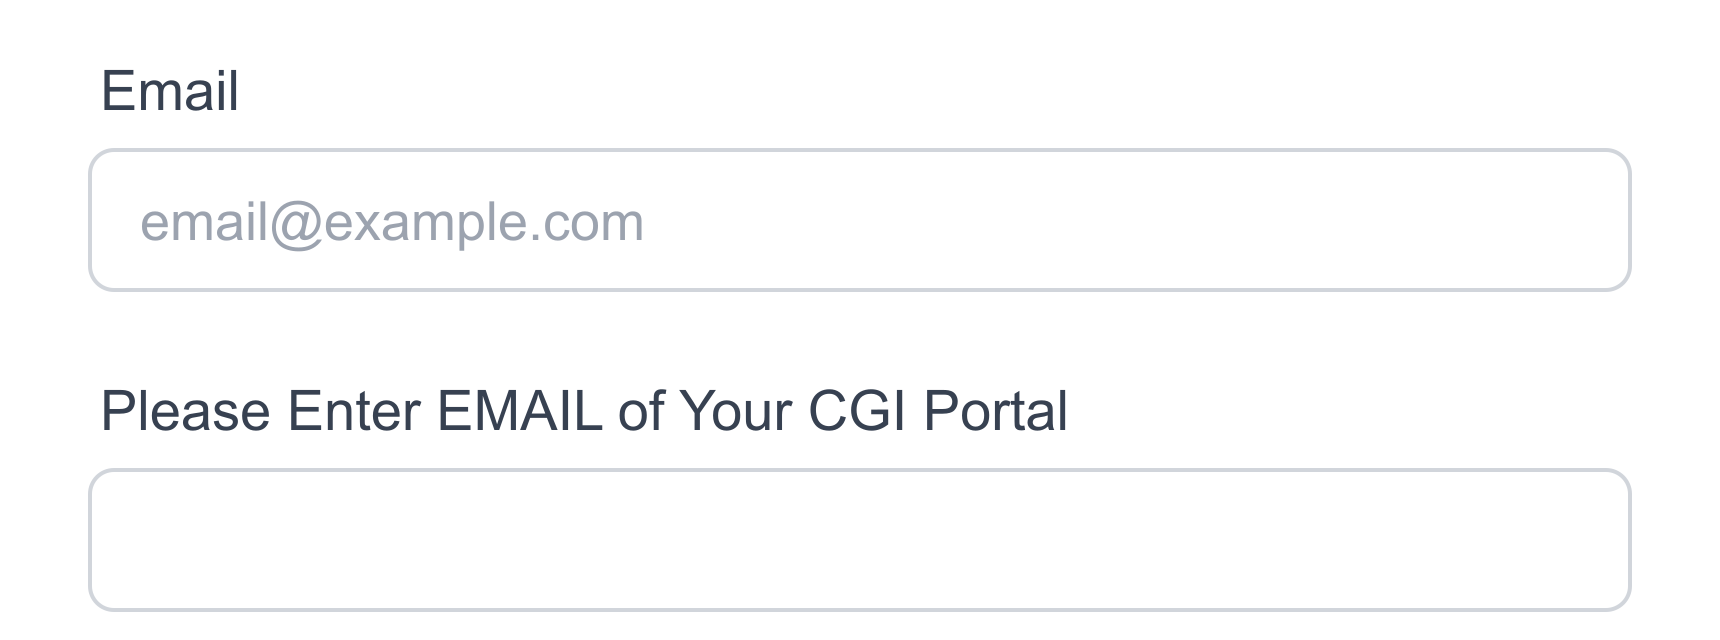 The Stripe checkout: receipt email on top, your CGI portal email below.
To make this easy, the extension shows your CGI account email at the very bottom of the popup (“Provide this email at the time of payment”). Just copy it from there and paste it into the second field — no guessing, no typos.
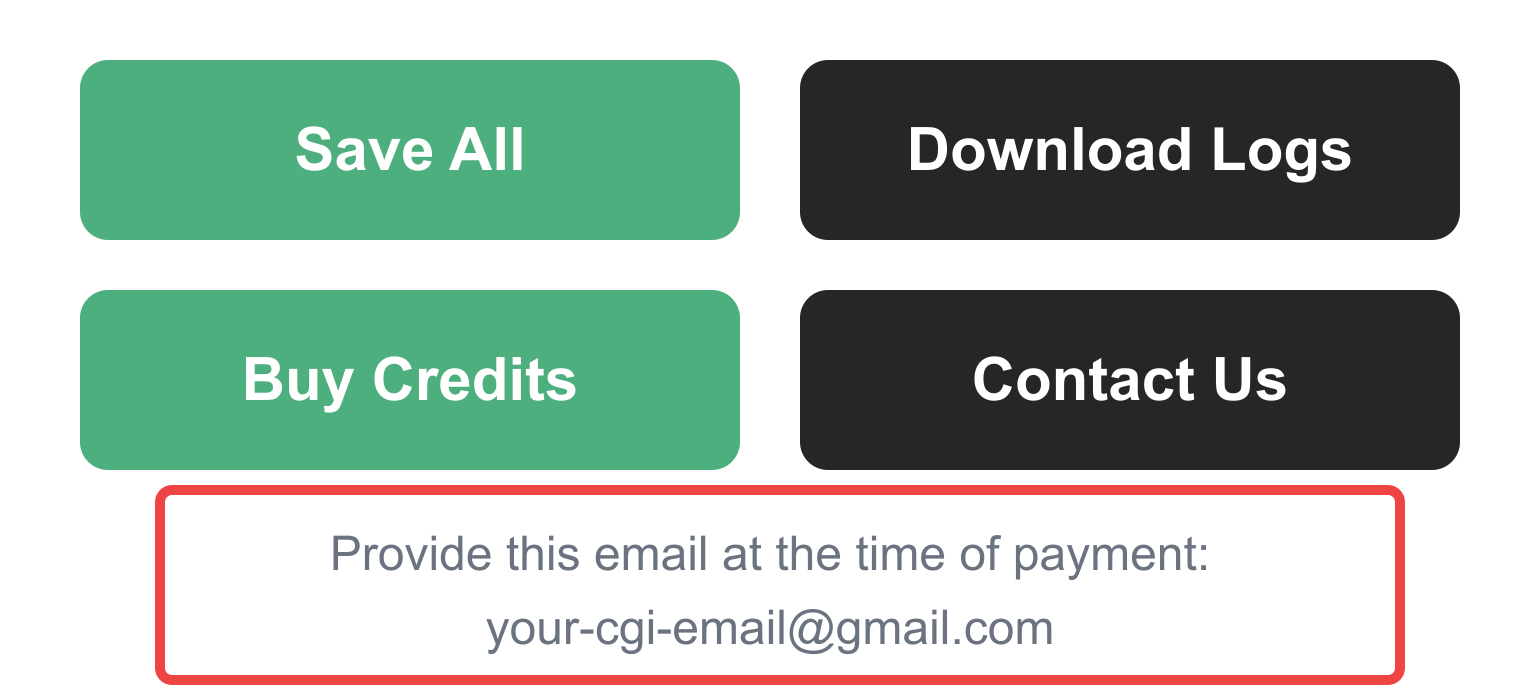 Copy the email shown at the bottom of the popup and paste it into the second Stripe field.
Key point: Unlimited credits are granted only to the email you enter in the second field. If you typo it or enter a different address, the credits land on the wrong account. Copy-paste the email shown at the bottom of the extension popup and double-check it before paying.
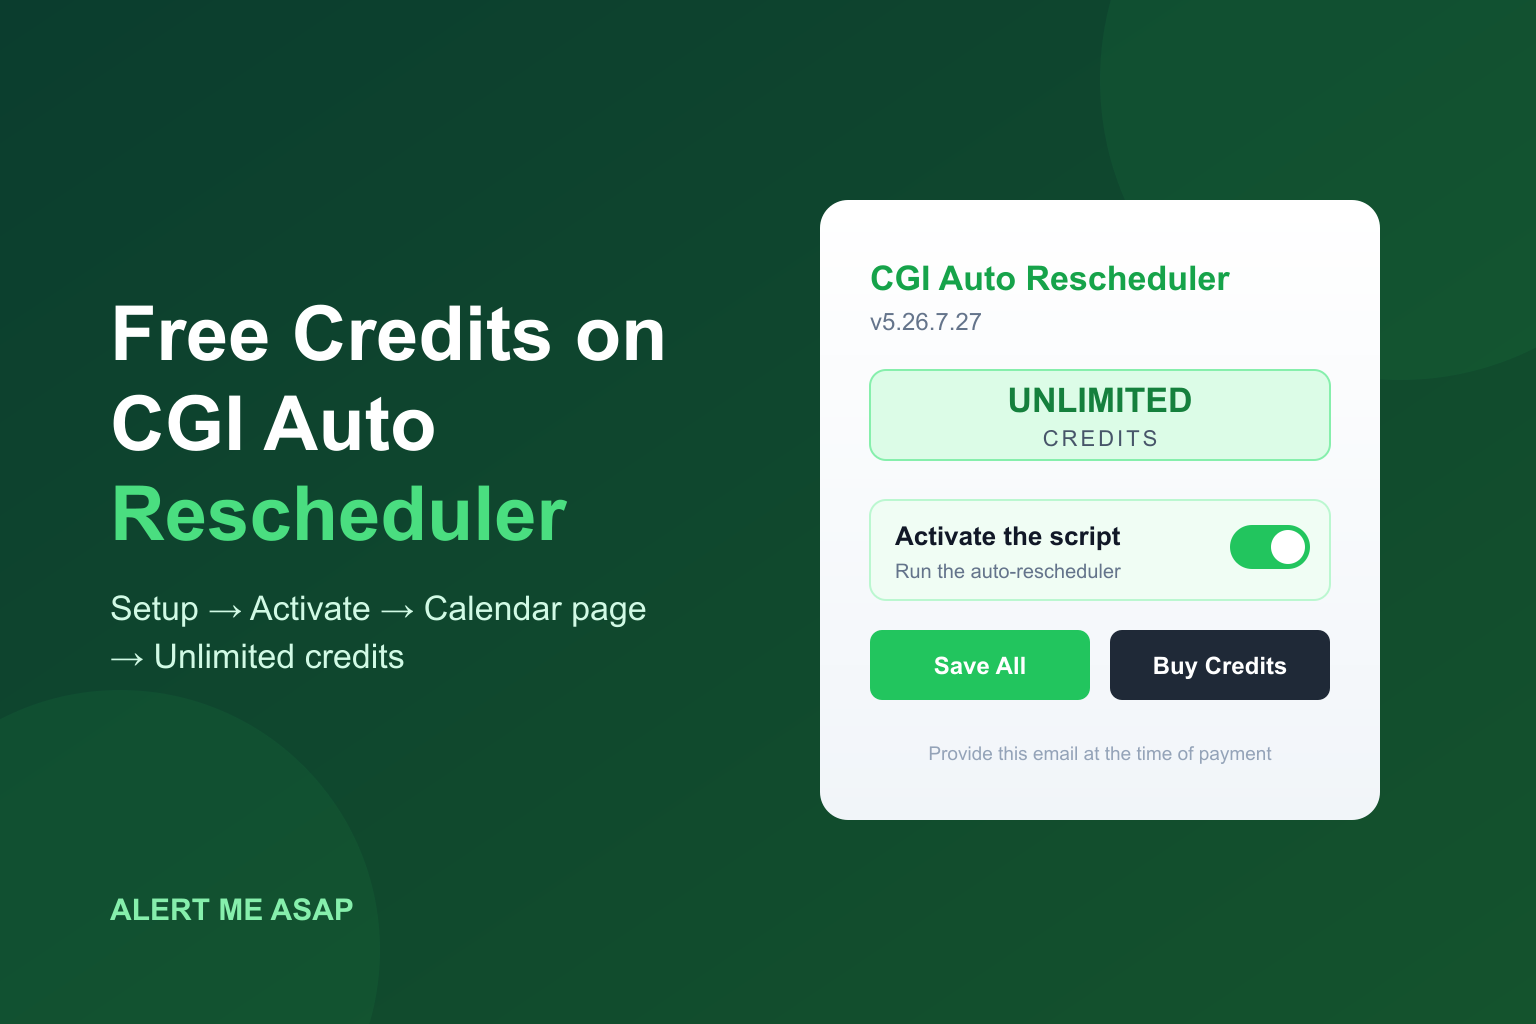
After the payment goes through, refresh the page — the popup header flips from your remaining free credits to UNLIMITED CREDITS, and the bot keeps running with no limits.
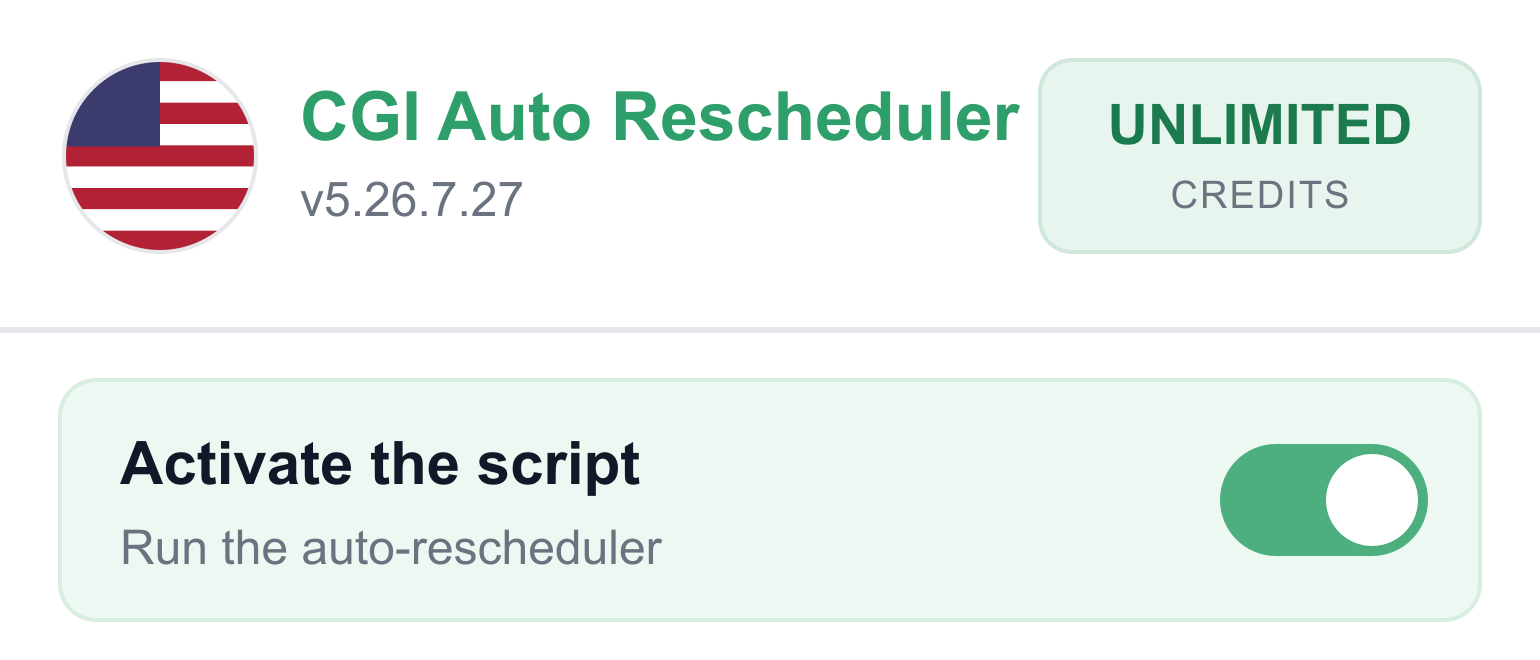 After payment and a refresh: unlimited credits, bot fully unlocked.
Quick troubleshooting
- Credits still 0 after activating? The bot hasn’t reached the calendar page yet. Check that your login details and security answers are correct, and give it time to log in and navigate there on its own.
- Bot seems stuck or the page behaves strangely? Disable every other bot/auto-refresher extension and try again.
- Paid but still seeing free credits? Refresh the page first. If it still doesn’t show unlimited, verify the email you entered in the second Stripe field matches your CGI account email exactly, then contact us — we’ll sort it out.
Not using the extension yet?
The CGI Auto Rescheduler is part of the Alert Me ASAP US visa toolkit — trusted by 23,000+ users. Alongside the extension, there’s a free CGI Telegram alert channel covering Dubai, Abu Dhabi, Turkey, Pakistan, India, Algeria and Bangladesh, so you can see slot alerts in real time before you even install anything. Install the extension, follow the steps above, and your free credits are waiting on the calendar page.
Stop refreshing. Let Alert Me ASAP watch for you.
We monitor US visa appointment slots 24/7 and alert you the instant an earlier date opens — through our free Telegram channel and Chrome extension that can auto-book for you.
Keep reading
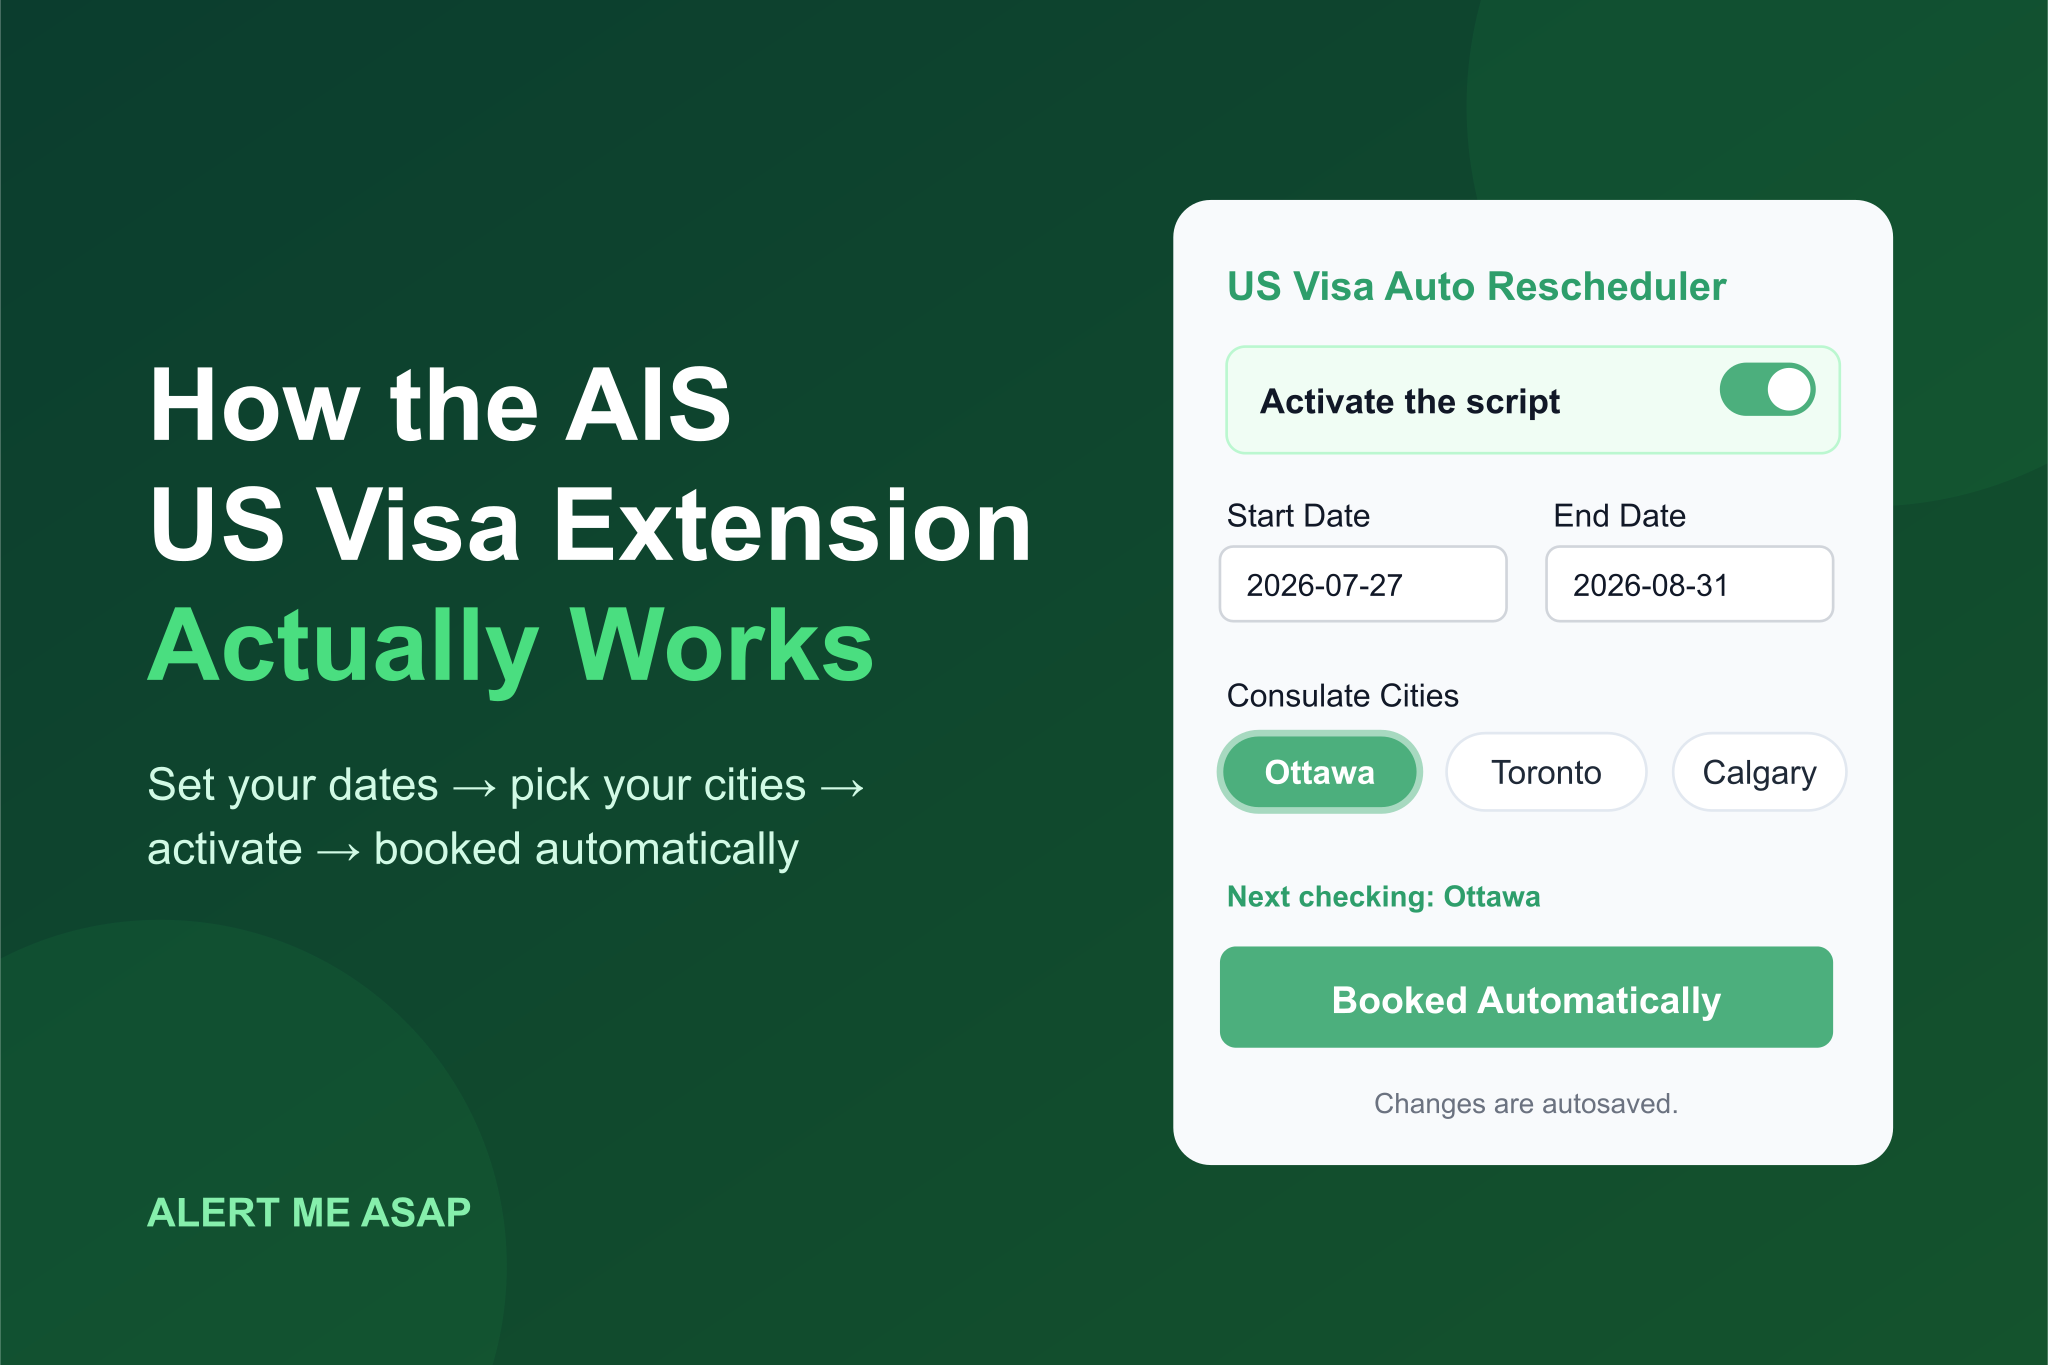
How the AIS US Visa Extension Works (Explained Simply, With Infographic)
A plain-English walkthrough of the AIS US visa auto-booking extension: what every setting means, what happens when you switch it on, and how it grabs an earlier interview date for you — with a step-by-step infographic.
'Invalid Email or Password' on US Visa AIS? 5 Causes and How to Fix Each
Stuck on 'Invalid email or password' when logging into AIS? Here are the 5 most common causes, how to fix them, and the one scam warning sign you can't ignore.
AIS Password Reset Email Not Arriving? Causes, Fixes, and a Scam Warning
Clicked Forgot Password on AIS but no reset email came? Work through the simple causes first — then learn why a missing email can signal your account was hijacked.